30 May 2008

Cilantro-Lime Coleslaw


I realize that cilantro is a controversial herb. Some people truly detest it, some even swear that they are genetically disposed not to like it. But if you can, cilantro is also a great thing to love. Chopping a fresh bunch of cilantro will release a bright, clean, fresh aroma into your kitchen. Unfortunately, when cilantro goes bad it is bad, tasting of soap, and I often worry that people's dislike of cilantro comes from these unfortunate specimens.

This coleslaw was inspired by a bunch of leftovers from a recent cookout. It pairs cilantro with its complimentary partners like lime and sour cream. It works equally well with Mexican and South Asian flavors and was delicious stuffed into an impromptu sandwich with some lemon-pepper shrimp.

Cilantro-Lime Coleslaw

1/2 head green cabbage, thinly sliced
1/2 cup sliced cilantro, loosely packed
1/2 a medium onion, thinly sliced
1/4 cup fresh lime juice
1/4 cup sour cream (low fat is fine)
1 pinch sugar
salt and pepper, to taste

1. Combine sour cream, lime, sugar, salt and pepper in the bottom of your serving bowl. Add cabbage, onion, and cilantro and toss to coat.

25 May 2008

Lemon-Chamomile Cream Pie

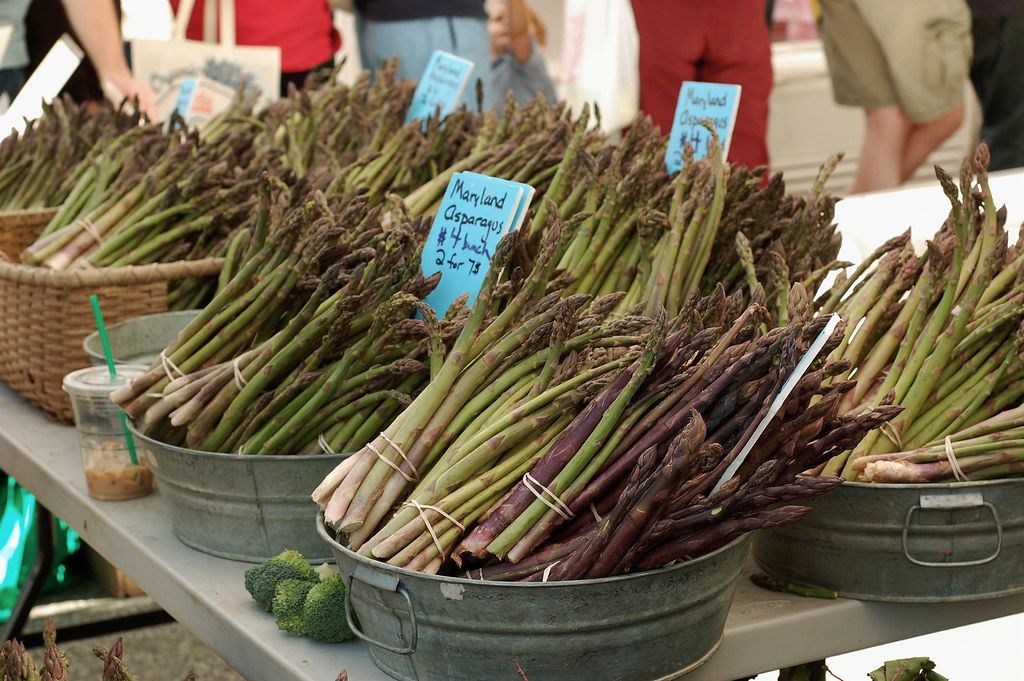
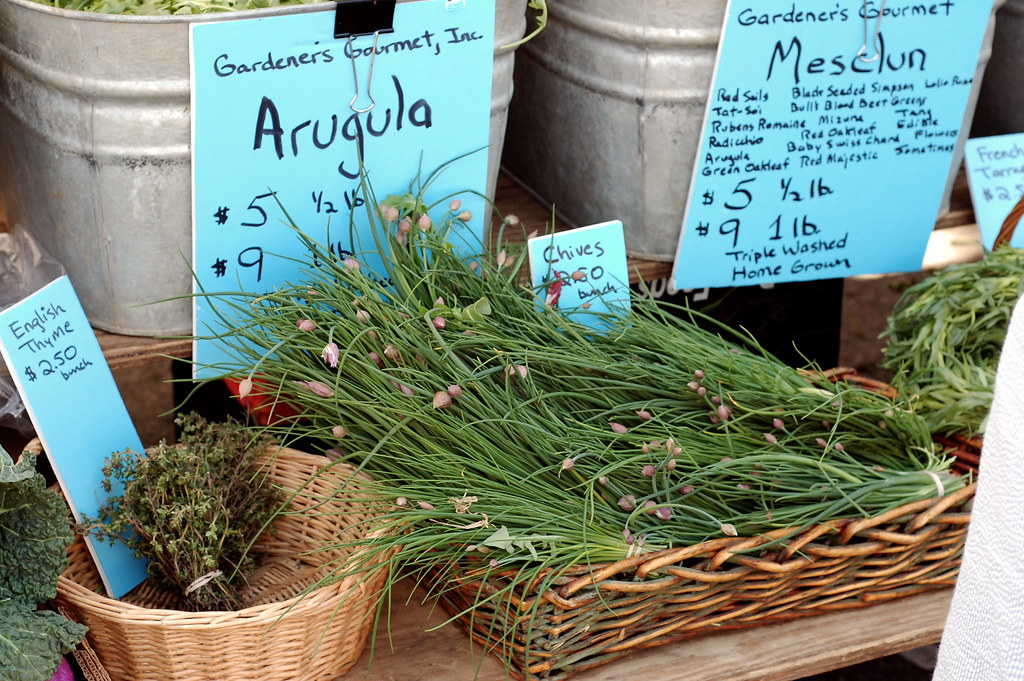
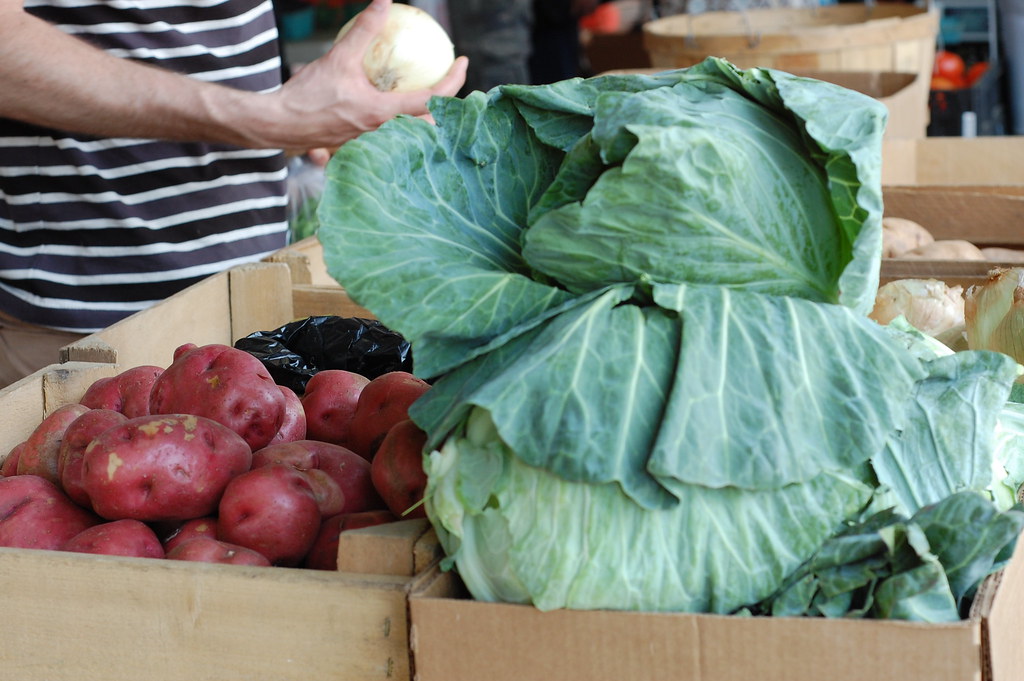
Last week I had one of those perfect Sundays. You know, the one where you go wander around the farmers market in the morning and then, on an impromptu shopping trip, find the pair of jeans that fit perfectly and are on sale for sixty percent off. I took one of my two new books and curled up in the back of the Georgetown Dean and Deluca, with a box of sushi and fifty pages of a wonderful novel, went for a walk in my favorite Smithsonian garden, and I didn't even mind getting caught in the rain on my way home. And then I made pie.

Except, about that pie. You see, I was entranced by a recent Martha Stewart Living feature on custard pies, and had my eye on a lemon-chamomile version that looked particularly spring-like. Except personal experience has taught me that Martha's recipes often fail, and even before I began I made a few adjustments. I reduced the custard quantities, realizing they were way too much for a normal-sized pie pan, and used only 3 chamomile tea bags instead of the 12 called for! I am quite sure the floral chamomile air would have quickly lost its charm with 12 tea bags. Unfortunately, I blithely followed Martha's instructions to add the lemon juice to the custard while it was still cooking, which I should have known would turn the mixture into a curdled mess. Despite my efforts to save it, the custard was beyond repair, and the following day I started the process all over again.

With a successful second custard, I wasn't willing to take any risks and went with my default favorite meringue for pies. This meringue has a cornstarch slurry mixed in, and the result is a meringue that stands up to the heat at a barbeque and lasts for days in the fridge without drooping or weeping. In short, why would you use anything else?

Despite the missteps and the fact that this pie took me three days to complete, the end result was wonderful. The crust is nubbly with cornmeal, thick and perfectly flaky. The filling is brightly lemony and the custard is just thick enough to hold up to being sliced but soft enough to droop all over your plate, almost making a sauce for the crunchy crust and billows of meringue. Hopefully next time (and there will be a next time) my perfect-Sunday pie will actually be completed before the following Wednesday!

Lemon-Chamomile Cream Pie
Though called a cream pie, there is no cream involved in this luscious custard-based concoction. The pudding-like filling and addition of chamomile make it much better than your average lemon-meringue pie.

cornmeal dough (recipe below)

2 1/4 cups whole milk
3 chamomile tea bags
3 tablespoons cornstarch
3/4 cup sugar
4 large egg yolks
1 tablespoon butter, cut into pieces
zest of 1 lemon
1/4 cup fresh lemon juice (from 1-2 lemons)

2 tbl sugar
1 tbl cornstarch
1/2 cup water
4 large egg whites, room temperature
1/4 tsp cream of tartar
1/3 cup sugar

1. For crust:On a lightly floured work surface, roll cornmeal dough to 1/4-inch thickness. Fit into a 9-inch pie dish. Trim edges, leaving a 1-inch overhang. Tuck overhang under dough so edges are flush with rim, and crimp edges. Lightly prick bottom of dough with a fork. Refrigerate for 30 minutes or freeze for 10.
2. Preheat oven to 375 degrees. Bake until edges begin to turn gold, about 18 minutes. Let cool completely on a wire rack.
3. For filling: Bring milk to a boil in a medium saucepan with the tea bags. Remove from heat, cover, and steep for 5 minutes. Press on tea bags to extract liquid. Discard tea bags.
4. Combine cornstarch and 3/4 cup sugar in a medium saucepan. Whisk in milk mixture. Set over medium-high heat, and cook, stirring constantly, until bubbling and thick, about 7 minutes total (about 2 minutes after it comes to a boil).
Whisk yolks in a medium bowl until combined. Pour in milk mixture in a slow, steady stream, whisking until completely incorporated. Return mixture to the saucepan. Cook over medium heat, stirring constantly, until it returns to a boil, 1 to 2 minutes.
5. Remove from heat, and stir in lemon zest. Add butter whisking until butter melts. Let custard cool in saucepan on a wire rack, whisking occasionally, for about 10 minutes. Stir in the lemon juice and taste for sweet/tart balance. Pour custard into cornmeal crust. Press plastic wrap directly on surface of custard. Refrigerate until custard filling is chilled and firm, at least 4 hours (or overnight).
6. For meringue: Preheat oven to 375F. In a small saucepan, whisk together sugar, cornstarch and water. Cook over medium heat, stirring constantly, until mixture is thick and becomes somewhat clear. Cool to room temperature (it will thicken).
7. In a medium bowl, beat egg whites and cream of tartar to soft peaks. Gradually beat in sugar, followed by the cooled cornstarch mixture (add in dollops with mixer on medium speed). Spread meringue over pie to cover filling completely, smooth with a spatula. Bake the pie in the center of the oven for 10-12 minutes, until meringue is nicely browned. Cool, then refrigerate before serving.

Cornmeal Dough
1 1/2 cups all-purpose flour
3/4 cup yellow cornmeal
1/2 teaspoon salt
1 teaspoon sugar
10 tablespoons (5 oz) cold unsalted butter, cut into small pieces
1/4 cup ice water

Pulse flour, cornmeal, salt, and sugar in a food processor to combine. Add butter, and process until mixture resembles coarse meal, about 10 seconds. With the machine running, add ice water in a slow, steady stream until dough just begins to hold together (no longer than 30 seconds). Shape dough into a disk. Wrap in plastic, and refrigerate until firm, at least 1 hour (or up to 2 days). (Dough can be frozen for up to 1 month; thaw in the refrigerator before using.)

18 May 2008

What is Za'atar?

If you’ve eaten at any Middle Eastern restaurant or spent any time in the region you are sure to have encountered za'atar (زعتر ). I’ve probably eaten boatloads of za'atar over the years, in salads, spread on flatbreads, and sprinkled over roast chicken. To clarify, za'atar is both an herb and a dried herb mixture, the latter including sesame seeds and other spices. Of course I knew what za'atar was, I blithely assumed, until one day I saw large bunches of an unfamiliar green herb in the market in Damascus. “Za'atar taza,” said the vendor when I asked, “fresh za'atar.” I nodded confidently, as if I knew exactly what it was, but I was quickly realizing I had no idea how to define the formerly-familiar za'atar. In order to best understand the ubiquitous herb mixture, first I had to know about za'atar as a specific herb.

In Arabic, za'atar can be used to refer to many herbs in the thyme-marjorum-oregano-savory family. But the plants I saw in markets and shops had long thin leaves, nothing like the tiny leaf of thyme nor the round leaf of oregano. There is a lot of misinformation out there about za'atar, and I’ll spare you the details, other than to say it took a lot of wading through books and encyclopedias, talking to farmers, and the great help of my friend Samir, who has a masters in agriculture from University of Damascus, to get it all sorted out.

Za'atar is a specific herb, thymbra spicata, with long green leaves and thyme-like flavor. It is sometimes called wild thyme in English, and it grows along the slopes of the Syrian-Lebanese mountains and cannot be cultivated. The following herbs are often mistakenly referred to as za'atar: Syrian oregano (oreganum syricum), biblical hyssop, and thyme-leaved savory (satureja thryba), among others. Fresh za'atar is used occasionally in salads and is also pickled

A Damascene blend on the left and a Beiruti blend handmade by a friend's Lebanese grandmother on the right.Now that we have the herb za'atar defined, let’s move on to the za'atar mixture. The basic za'atar mixture consists of dried za'atar herb and sesame seeds with a bit of salt, but each version is a little different, some people add bits of oregano, savory, hyssop or sumac (a dried tart berry). In Beirut, the most prized za'atar mixture includes the delicate white thyme flowers, the result is a light colored za'atar that is rarely found in shops but made by hand at home (see above). In Damascus, the favored za'atar is verdant green in color with flecks of sesame, while in Aleppo they prefer to grind the sesame seeds which gives the mixture a more brown appearance, and in Jordan they use a large quantity of sumac for a red za'atar. In the market, you are sure to find at least five different varieties of zaatar to choose from, and people also make their own mix at home. My advice is usually to taste and try, you should be able to eat the za'atar dry with a spoon and it should not be powdery or have bits of stem in it.

Za'atar (the mixture) is considered a staple food in Syria, Lebanon, and Jordan, so essential that no table or kitchen is complete without it. Usually za'atar is mixed with olive oil (za'atar ul-zayt), and this mixture is spread on flat breads, rolled up in pita bread, served as a dip, or drizzled over sliced tomatoes. Za'atar makes the filling for croissants, the seasoning on breadsticks, a compliment to yogurt, and the seasoning for stews. Children are often given za'atar sandwiches before a test because it is thought to awaken the mind.

Za'atar in the market in Aleppo, decorated with sumac and salt. The sign below actually advertises a flower tea also available at the shop.My favorite way to eat za'atar is probably the simplest: get two small bowls, put a shallow level of olive oil in one, and put a generous amount of za'atar in the other. Now get some bread, preferably a flat bread like pita, but you can use any bread you like. Roll up your bread, or tear off a hunk, and dip the bread first in the olive oil, then in the za'atar. Eat. In fact, I dare you to stop eating, because it is so addictive. Before you know it, you’ll have made a whole meal around a dried herb mix. And that is the power of za'atar.

Za'atar
I always buy my za'atar from a Middle Eastern store, or order it. However, if you are stranded on a remote island and in need of some za'atar, the following mixture will suffice. Combine 1/2 cup best-quality dried thyme, 1 teaspoon summer savory or oregano, 2 tablespoons sumac, 1/2 teaspoon salt, and 2 tablespoons sesame seeds. Give the mixture a quick blitz in a food processor or spice grinder (you don't actually want to grind all the seeds, just give everything a good mix).

17 May 2008

Dinner, at Least


My goodness, has it been so long? I certainly did not mean to leave you for over a week without a recipe. It seems I’ve been spending most of my time at work lately, and while I truly love my job, too much time behind a computer screen makes me less inclined to want to face one during my time off. But I’ve actually missed you all in a funny sort of way, like extended guests at my own little table.

I’m afraid what I have to offer you as consulation isn’t anything that’s unique or innovative or something you haven’t seen before. It did, however, make up my much-deserved late night dinner twice this week, and is perhaps one of the better quintessential spring-time dinners I can think of. Best of all the whole thing is ready in about twenty minutes start-to-finish.

Roast asparagus is probably one of my quintessntial spring time dishes. Just like I eat plate after plate of tomatoes in summer and butternut squash in fall, I make roast asparagus for weeks on end when the weather finally warms up. I really never tire of it. Sure, you can dress the asparagus up with splash of balsmaic vinegar or a bit of lemon zest or the tiniest shavings of cheese, but I’m perfectly happy with just good old plain. Sometimes I make roast aspragaus sandwiches with just a smear of spreadable goat cheese and toasted sourdough bread.

The other part of my favorite spring dinner is a soft shelled crab, pan fried. I am lucky enough to live somewhere with access to local fresh seafood and I couldn’t imagine my life without it. I’m a recent convert to soft-shells, though my mom always ate them I only first tried them about a year-ago. But now I love them, and those little crunchy fried legs, they’re my favorite part.

So there you have it, I will offer you dinner at least. But not to worry, I picked up the latest copy of Marth Stewart while traveling this week and there’s an article on pies that I’m dying to tackle. I’ll let you know how it goes.


Roast Asparagus
Preheat the oven to 425 F. Wash asparagus and snap off the woody ends. Drizzle some olive oil on a baking sheet and roll the asparagus around to coat. Sprinkle with salt. Roast in the center of the oven for about 12 minutes, shaking the pan once or twice to ensure even cooking. Time may vary slightly depending how thick/thin your spears are. Serve, with a squeeze of lemon juice, if desired. (You can also use the same process to make roast green beans, time will be closer to 18-20 minutes.)

Pan-Fried Soft Shelled Crab
Your fish monger should have prepared the crabs by removing the lungs and eyes. I like to also reach under the shell and scrape out the yellow tomalley. Get two shallow plates, place a couple spoonfuls of plain yogurt in one and thin it with some water until it is the consistency of cream (you could also use buttermilk, but I'm more likely to have yogurt on hand). Place equal amounts flour and cornmeal in the other plate and season with some salt and red pepper. Heat about half an inch of oil in a cast iron skillet. Dredge crabs in yogurt, then in flour mixture. Add crabs to hot oil, pan fry about 3 minutes on each side, until golden. Drain on paper towels, serve immedately.

11 May 2008

Spring, Sprang, Sprung


Dupont Circle Farmers Market, Washington, D.C.

09 May 2008

Toasted Coconut and Dulce de Leche Cupcakes


Do you have dulce de leche and coconut in your fridge leftover from making a batch of your favorite alfajores?


Did you forget that you promised your coworkers another batch of cupcakes, and don't want to disappoint them?

Well these won't disappoint:

Toasted Coconut and Dulce de Leche Cupcakes
I like to make my coconut cake with a basic white cake- the neutral base allows to coconut flavor to come through.

1/2 cup (1 stick, 4 oz) butter
1 cup sugar
1 1/2 cups flour
1 teaspoon baking powder
1/8 teaspoon salt
4 egg whites (1/2 cup egg whites)
1/2 cup milk
1 teaspoon vanilla
1-2 drops coconut extract
1 cup sweetened flaked coconut

1/2 cup dulce de leche or cajeta (recipe here)
3 tablespoons cream cheese

1. Preheat oven to 350 F. Grease or line your cupcake pans. Spread coconut on a baking sheet and toast until golden (watch carefully that it does not burn). Set aside to cool.
2. In a large bowl, beat butter and sugar for about 5 minutes, until light and fluffy. Stir together flour, baking powder and salt. Set aside. Combine egg whites, milk and vanilla and coconut extracts. Add 1/3 of the flour mixture to the butter mixture then add half the milk mixture. Continue to alternate beginning and ending with flour mixture, until mixture is well combined. Set aside 1/4 of the coconut for topping. Working over the bowl, rub the remaining coconut between your palms so it is finely crumbled, stir the crumbled toasted coconut into the batter.
3. Fill cupcake pans 3/4 full. Bake cupcakes 20-25 minutes, until a toothpick comes out clean. Set aside to cool.
4. Stir together dulce de leche and cream cheese until smooth. Spread on cupcakes, top with remaining toasted coconut.

03 May 2008

Dulce Danger

The first time I made dulce de leche I almost killed my mother. Really. I was busy cooking dinner and had recently finished a batch of the sweet milky caramel sauce, which was cooling on the counter. When my mum asked how she could help, I nodded towards the can and asked her to open it. Apparently, the can had not been cooling long enough, so when my mother punctured it with a can opener the boiling hot sauce went flying everywhere. Luckily, it just grazed my mother’s cheek and splattered all over the kitchen wall, leaving a bit of a mess but sparing any permanent eye damage.

Yes, for years I made dulce de leche by boiling an unopened can of sweetened condensed milk submersed in water. Add to my own experience, the countless stories of people whose boiling cans subsequently exploded, and you may be wondering why you should undertake this possibly life-threatening endeavor. But not to worry, I’ve actually found a faster and safer way of making dulce de leche using the oven, although I still think there’s nothing wrong with the can method. Most importantly, there’s the reward of the sauce itself, which I dare you not to eat by the spoonful.


As an Argentine, I feel obliged to point out that the authentic way of making dulce de leche is by slow-cooking milk and sugar, and though I’ve been meaning to try this method, I’m perfectly happy with the shortcut version. Though dulce de leche has made it into the vernacular in the U.S., it’s still not widely available (especially any decent brand), so chances are you’ll need to make your own. And if you are wondering what to do with your sauce, besides drizzle it on ice cream, spread it on toast, stir into coffee, or make bread pudding or cheesecake with it, well you make alfajores.

Alfajores are the quintessential Argentine sweet, the thing every homesick Argentine craves and every tourist carries home in yellow Havanna boxes. The basic version is a tender shortbread cookie sandwiched with dulce de leche, which can then be dressed up most often with a roll in coconut, though it can also be dipped in dark or white chocolate. In my mind, an alfajore is the queen of the sandwich cookie, the way the filling melts into the crisp crust, it’s parallel only the likes of the regal French macaron. I think the cookies are best after they’ve rested overnight, it gives the cookie and filling a chance to meld together, but I won’t blame you if you bite into one right away.


Alfajores (Caramel Sandwich Cookies)
Do not be alarmed by the amount of cornstarch in the shortbread, it’s what gives the cookies their tender texture. If you want to make the cookies on their own, as I often do, adding a bit of lemon zest to the mixture is a nice touch. Instead of rollling the edges in coconut, you can also dip the cookies in melted chocolate (dark or white), or simply leave them plain.

1 cup (1/2 lb.) butter, at room temperature
2/3 cup sugar
1 large egg + 1 egg yolk
2 tablespoons dark rum
1 teaspoon vanilla
2 cups all-purpose flour (plus more for rolling)
1 cup cornstarch
1 teaspoon baking powder

about 1 3/4 cups dulce de leche or cajeta (recipe follows)
about 1 cup sweetened flaked dried coconut, toasted

1. In a large bowl, with a mixer on medium speed, beat the butter and sugar until smooth. Add egg + yolk, rum, and vanilla and beat until well blended.
2. In a medium bowl, mix 2 cups flour, cornstarch, and baking powder. Stir into butter mixture, then beat until well blended. Divide dough in half, press each half into a disk, wrap in plastic wrap, and chill until firm, about 30 minutes.
3. Preheat oven to 350º F. Unwrap dough. On a lightly floured surface, with a floured rolling pin, roll one disk at a time to about 1/8 inch thick. With a floured, 2- to 3-inch round cutter, cut out cookies. Place about 1 inch apart on greased or lined baking sheets. Gather excess dough into a ball, reroll, and cut out remaining cookies. (I usually toast the coconut while I'm rolling out the cookies, just keep an eye so it doesn't burn.)
4. Bake until cookie edges just begin to brown, about 10 minutes. If baking two sheets at once in one oven, switch their positions halfway through baking. Let the cookies cool on sheets for 5 minutes, then use a spatula to transfer them to racks to cool completely.
5. Turn half the cooled cookies bottom side up and spread each with a heaping tablespoon dulce de leche (be generous). Top with remaining cookies. Place toasted coconut in a shallow bowl. Gently squeeze each sandwich until filling begins to ooze out sides, then roll edges in coconut. Cookies are best on the second day, they keep well for 2 weeks in an air-tight container at room temperature.

Dulce de Leche (adapted from David Lebovitz):

Preheat the oven to 425° F. Pour one can of sweetened condensed milk (not evaporated milk) into a glass pie plate or shallow baking dish. Stir in a few flecks of sea salt. Set the pie plate within a larger pan, such as a roasting pan, and add hot water until it reaches halfway up the side of the pie plate. Cover the pie plate snugly with aluminum foil and bake for 1 to 1¼ hours. (Check a few times during baking and add more water to the roasting pan as necessary, make sure the water is as high as the dulce de leche, otherwise the surface may burn). Once the Dulce de Leche is nicely browned and caramelized, remove from the oven and let cool. Once cool, whisk until smooth.